Azure AD Integration Setup Process
Azure Active Directory (Azure AD) can be integrated with ALICE Receptionist to import employees from Active Directory into ALICE Receptionist's database. This removes the need to manually create, update, or delete Employee listings on ALICE directly.
An Azure Active Directory administrator must add an enterprise application for ALICE Receptionist within Active Directory. Follow Microsoft's Quick Start guide to complete this process.
Step #1 – Creating the ALICE Azure AD Sync Application

Navigate to the "Enterprise Applications" section and click + New Application.
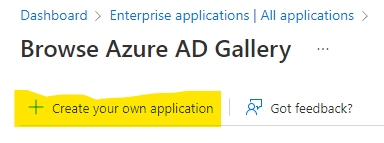
Click on the + Create your own application option at the top of the screen.
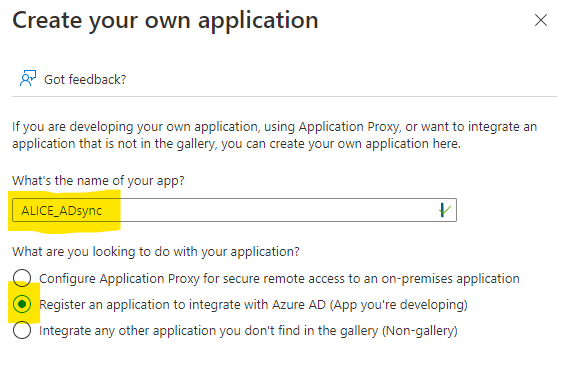
On the "Create your own application screen," give the app a name. Choose “Register an application to integrate with Azure AD (App you’re developing)" and click the Create button.
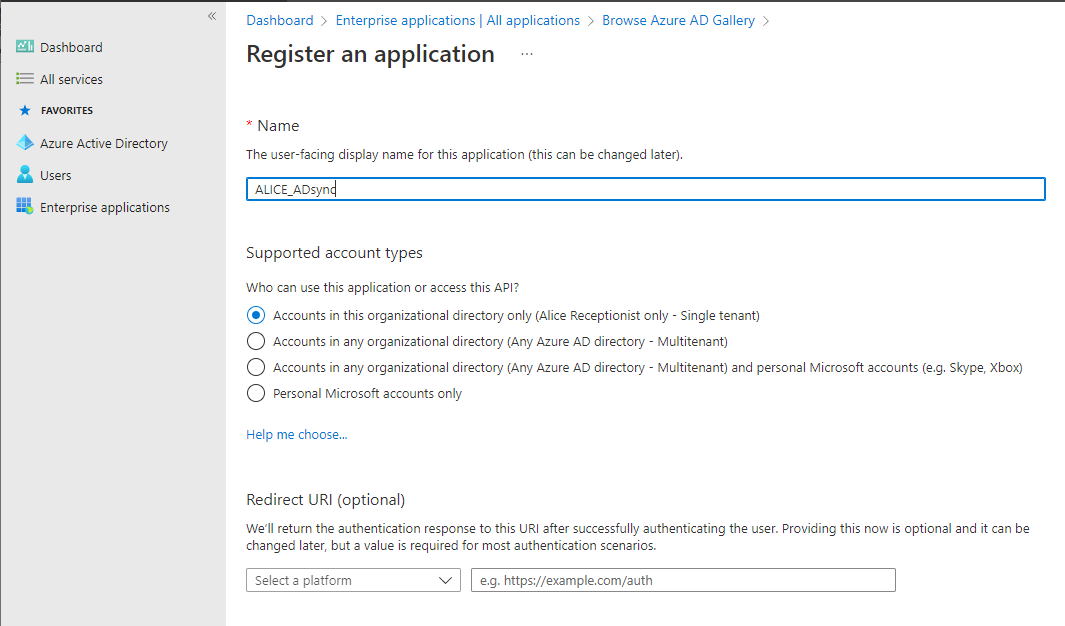
On the "Register an application" screen, select the account type to give this application access. Most customers will choose the first option for single tenants. Click the Register button to create the application.
A notification should appear that the app was successfully created.
Step #2 – Configuring the Azure AD Sync
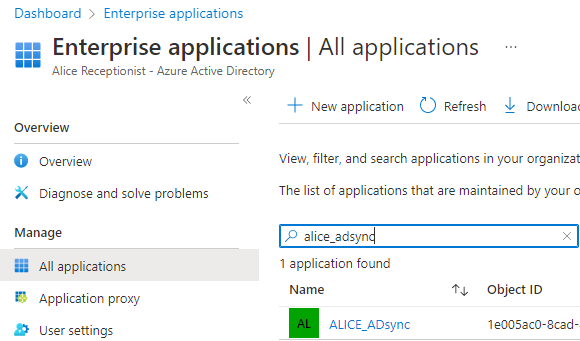
In the "Enterprise Applications" section, search for the created application and select it.
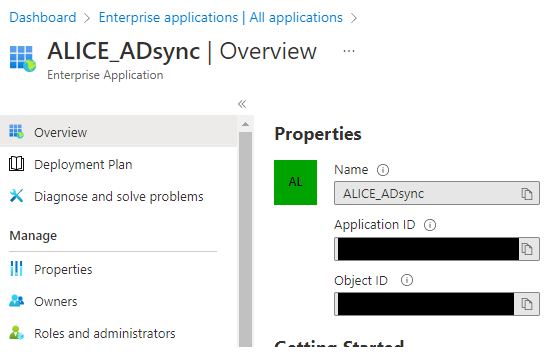
In the "Overview" section of the application, copy and store the Application ID. This ID will be needed later on the ALICE Azure AD Sync configuration screen.
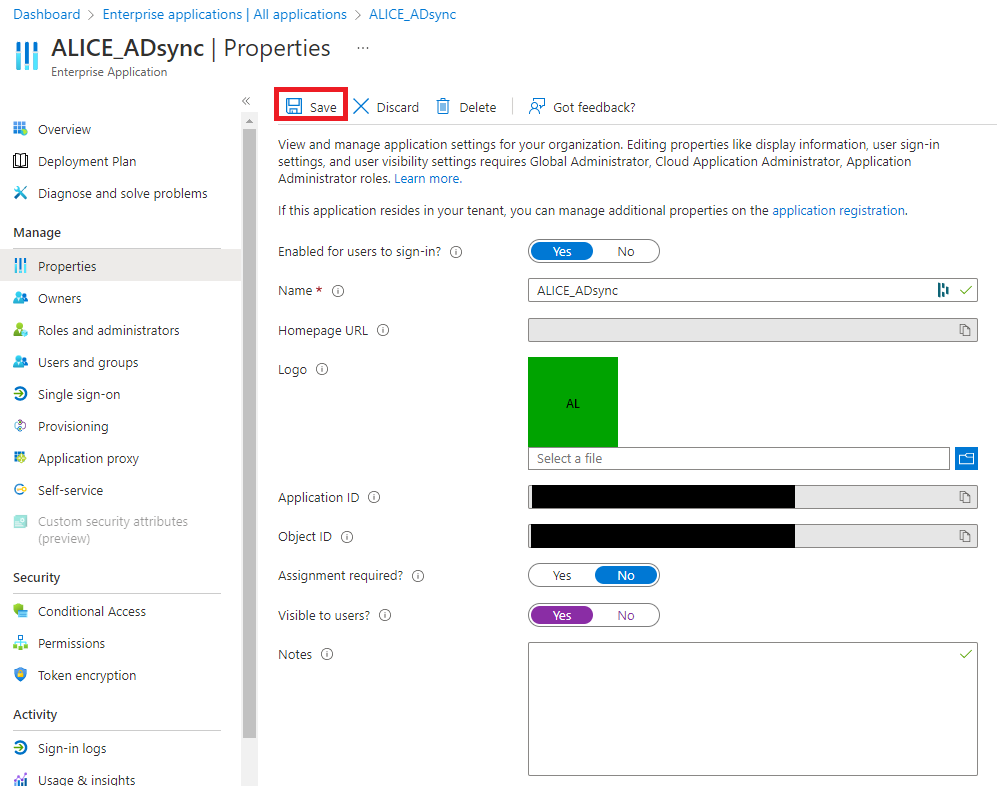
Under the Manage section, click on Properties. On this screen, switch the "Visible to user?" option to Yes, then click the Save button.
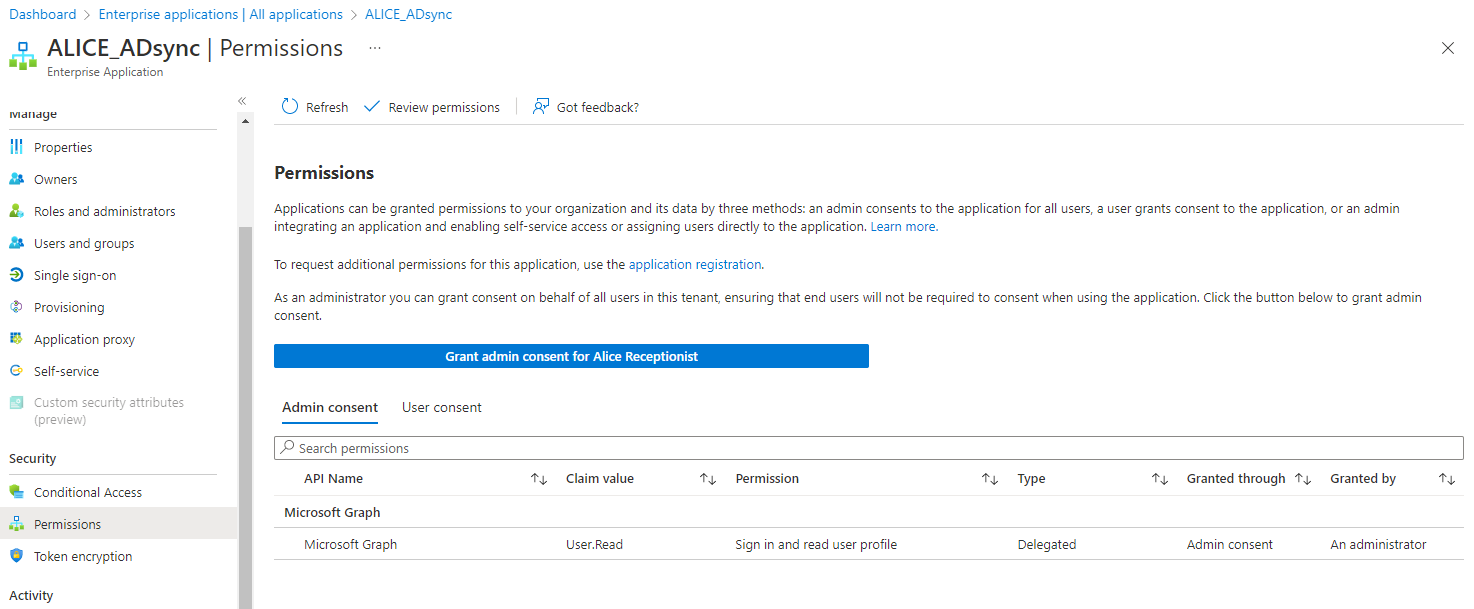
Under the "Security" section, click on the Permissions option. Select the Grant admin consent for (app name) button on this screen. Provide your credentials and click Accept when prompted.
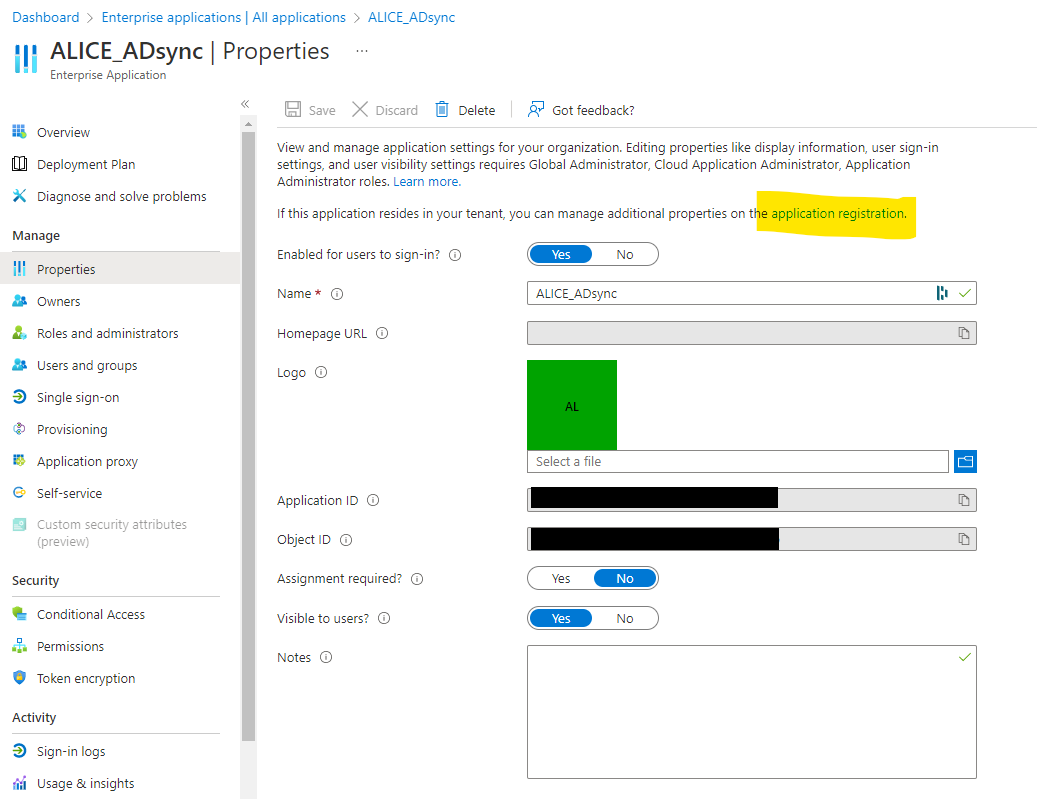
Return to the Properties menu under "Manage." Select the “application registration” hyperlink.
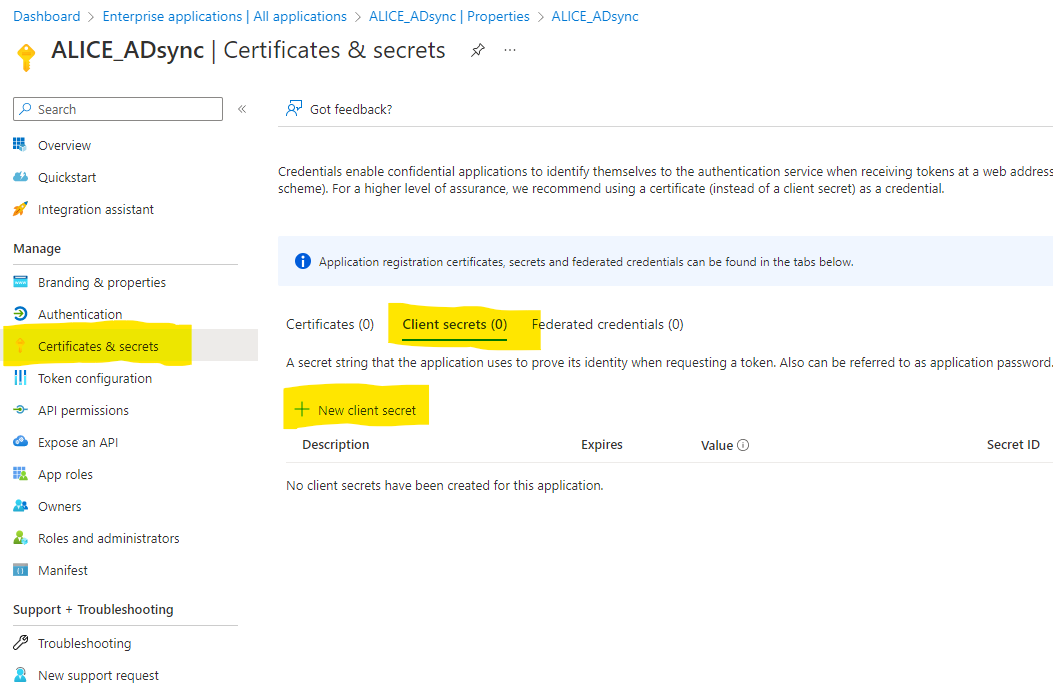
Click on the Certificates & Secrets menu under "Manage." Click on Client secrets to open the tab and click + New client secret.
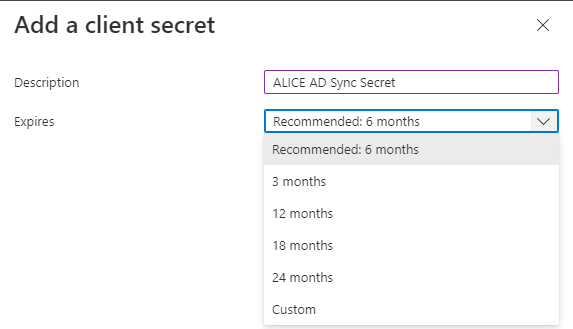
Give the secret a description and select a time frame for the "Expires" field in the drop-down menu's available options. When finished, click Add.
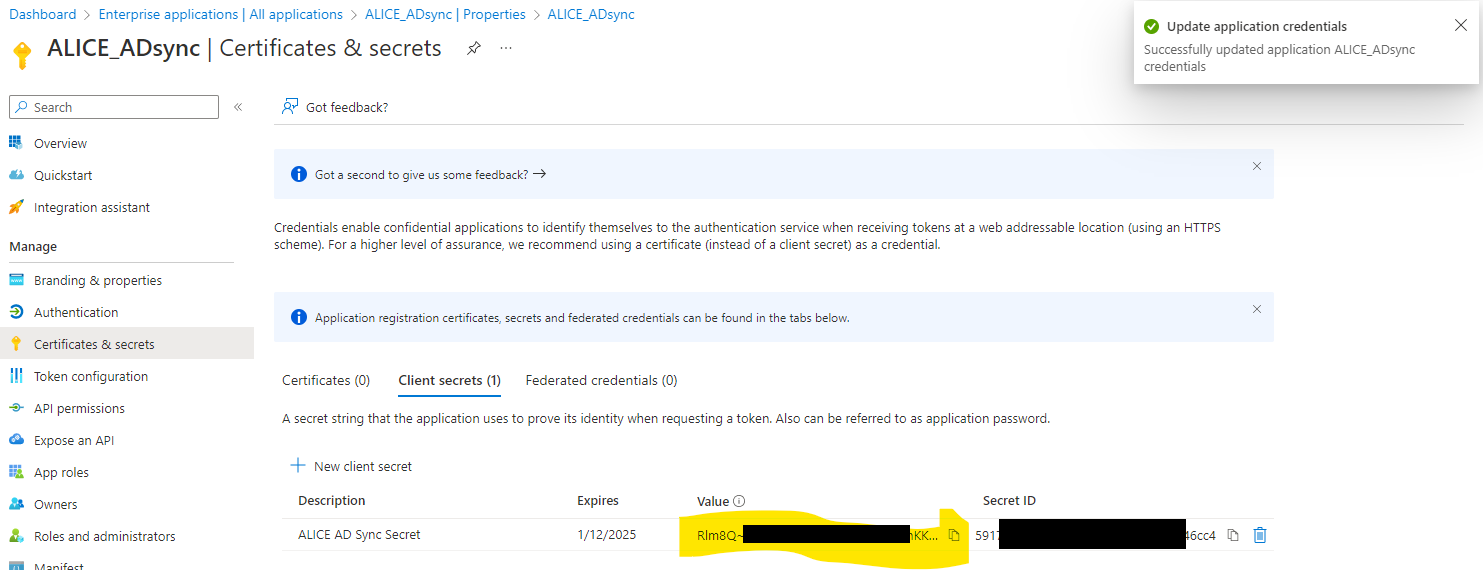
Use the Copy button to copy the value in the "VALUE" column (do not copy the "Secret ID"). This value will be needed on the ALICE Azure AD Sync configuration screen later.
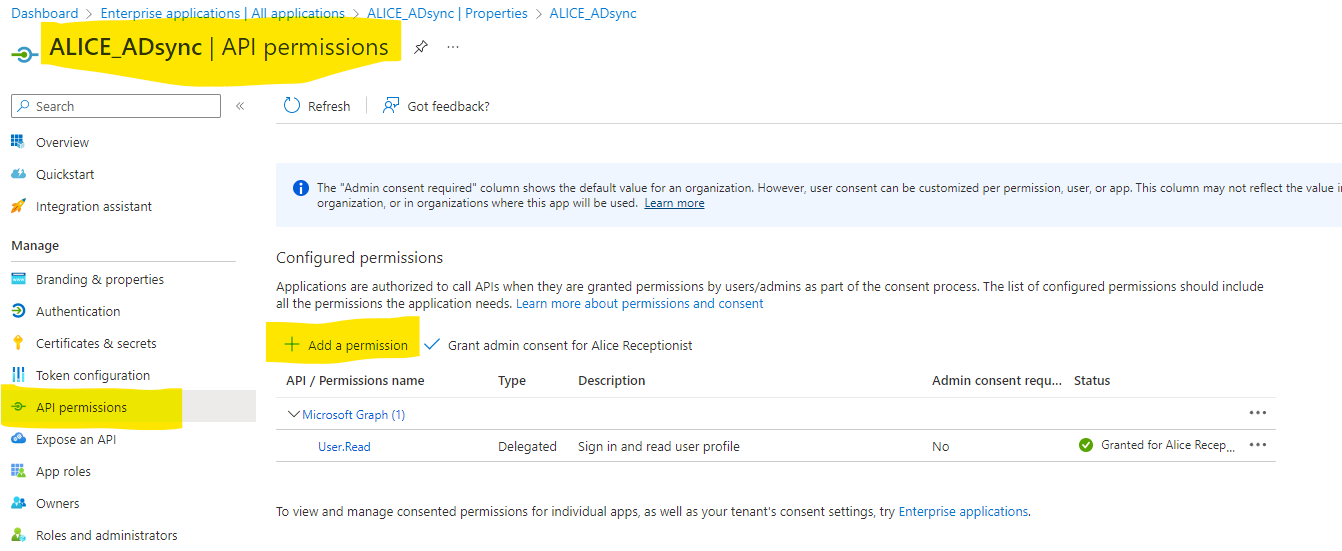
Click on the API Permissions tab under "Manage." Then, click the + Add a Permission button.

Select the Microsoft Graph API.
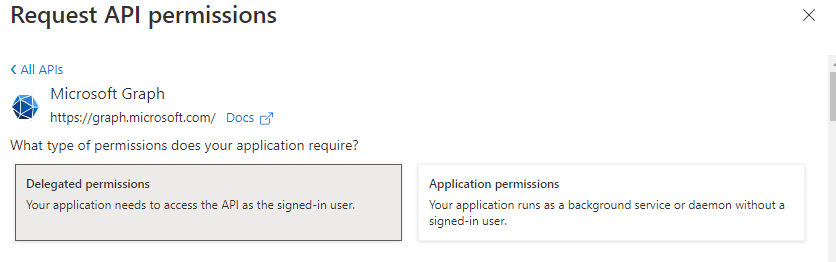
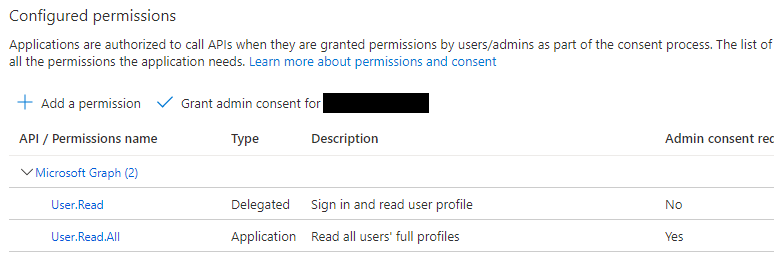
On the "Request API Permissions" screen, select Delegated permissions, then scroll down and find the “USER” group. Select the “User.Read” and “User.Read.All” permission. Click Add Permission.
Now select the following API / Permissions from the list.
-
OpenId Permissions - email
-
OpenId Permissions – Profile
-
Use Permissions – User.Read
Click the Add Permissions button at the bottom of the permission screen to add these three permissions.
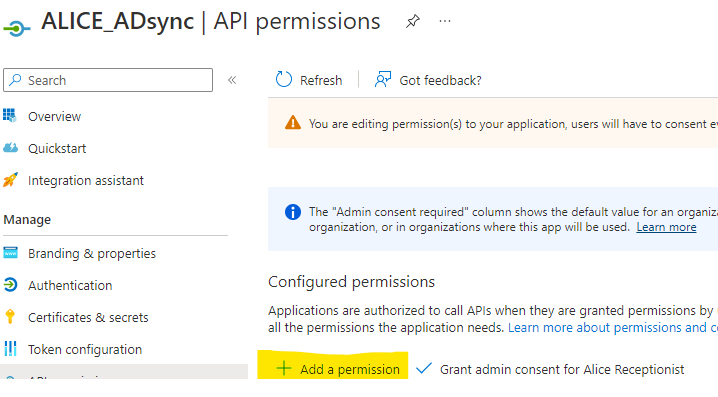
On the "API Permissions" screen, click the + Add a permission button again.
Select the Microsoft Graph API again.
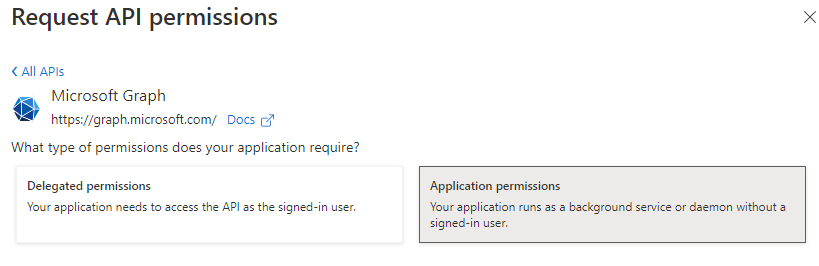
Click on Application permission.
Select the following API / Permissions from the list.
-
Directory– Directory.Read.All
-
Group – Group.Read.All
-
GroupMember – GroupMember.Read.All
-
Member – Member.Read.Hidden
-
User – User.ReadBasic.All
Click the Add permission button at the bottom of the screen.
Click the Grant admin consent for (Tenant name) to grant admin consent for these permissions.
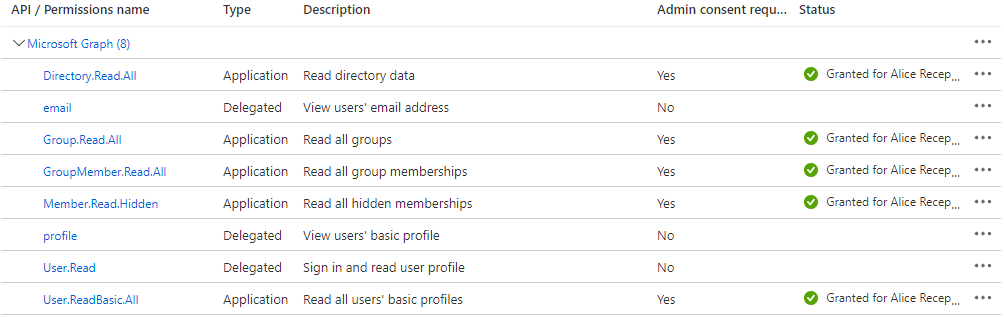
The final list of API / Permissions should include those listed in the above image.
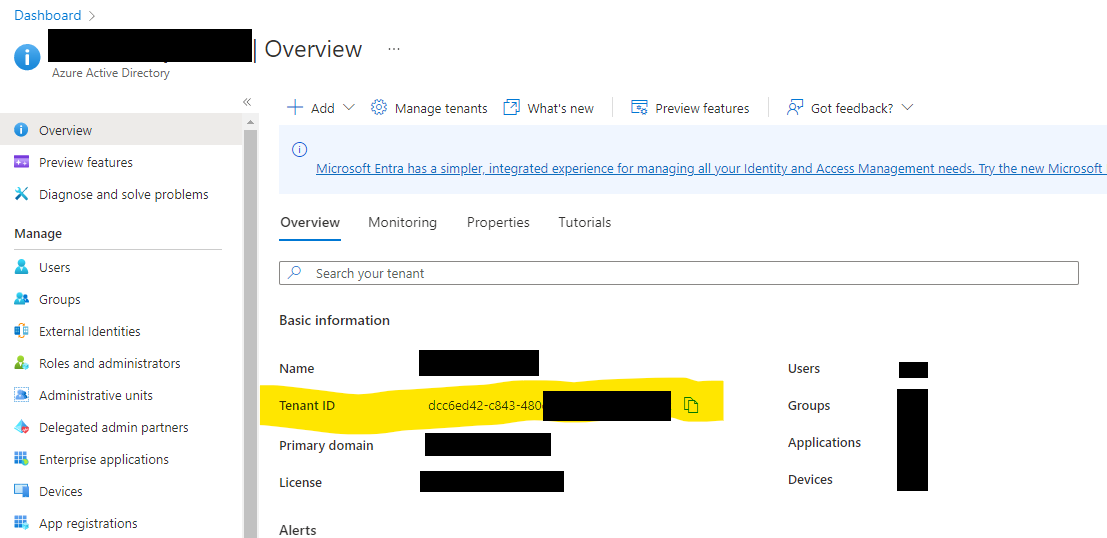
Copy the"AD Tenant ID" from the Overview tab for your Azure AD Tenant. Store this ID as it will be required on the configuration screen of the ALICE Azure AD Sync screen.
Step #3 – Integrate ALICE Receptionist with ALICE Azure AD
To complete the integration, an administrative user of the ALICE Portal will need the following information from the created app.
-
Application ID
-
Azure AD Tenant ID
-
Application Secret
Log into the ALICE Portal with an administrator account. Under Account Management, select Global Settings.
Select the Azure Active Directory tab.
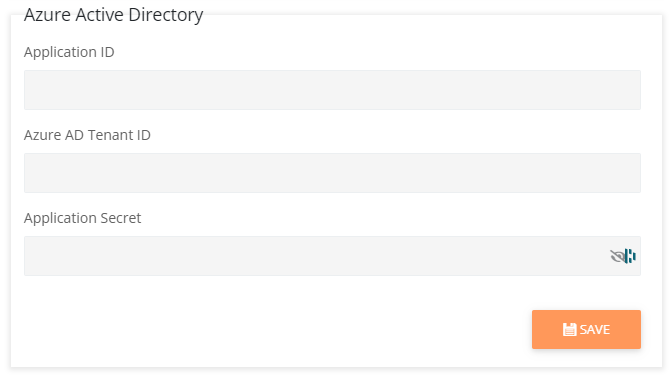
Insert the Application ID, Azure AD Tenant ID, and Application Secret. Click Save.
The integration is complete. To set import employees or schedule imports, follow the Import Employee – Azure AD Admin guide or training video.
When Importing employee information from Azure AD to the ALICE Receptionist database, the following mapping dictionary will be used to define where information is pulled from in AD and what ALICE Receptionist fields will be populated from these fields.
| ALICE Database Field | Azure AD Field |
|---|---|
|
First Name |
First Name |
|
Last Name |
Last Name |
|
Employee Photo |
Photo |
|
Primary Number |
Business Phone |
|
Mobile Phone |
Mobile Phone |
|
Email Address |
|
|
Department |
Department |
|
Position |
Job Title |
|
User Name |
User Principal Name |
|
User ID (Not visible or editable) |
Object ID |